How to Pressure Wash Your Brick Without Damaging it– A Step-by-Step Guide
Pressure washing is an effective way to clean brick and other masonry surfaces. However, it’s important to be careful when using a pressure washer on your brick or you could end up with more damage than before. Fortunately, with the right pressure washer and cleaning solutions, as well as some tips on technique, you can safely and effectively pressure wash your brick without damaging it. This guide will provide step-by-step instructions on how to pressure wash your brick without damaging it.

- Step 1: Choose the Right Pressure Washer: The first step to properly pressure wash your brick is to choose the right pressure washer. A gas-powered pressure washer with a minimum of 3,000 PSI (pounds per square inch) is best for most types of masonry work. Avoid using high-pressure nozzles or those with higher PSIs as they can be too powerful and cause damage to your brick.
- Step 2: Prepare the Surface: Before you begin, it’s important to thoroughly clean any dirt or debris off the surface of the brick. This will help ensure that all areas are evenly cleaned when you use your pressure washer. Use a brush or broom and some mild detergent to get the surface of your brick as clean as possible.
- Step 3: Choose a Cleaning Solution: After you’ve prepared the surface, it’s time to choose the right cleaning solution for your pressure washer. For most types of masonry work, an all-purpose cleaner designed specifically for use with pressure washers is best. These solutions help break down dirt and grime without damaging or discoloring your brick.
- Step 4: Set Up Your Pressure Washer: Once you have your pressure washer and cleaning solution, it’s time to set up the equipment. Make sure that all hoses are securely connected and that you are working in a well-ventilated area away from any electrical outlets or other hazards.
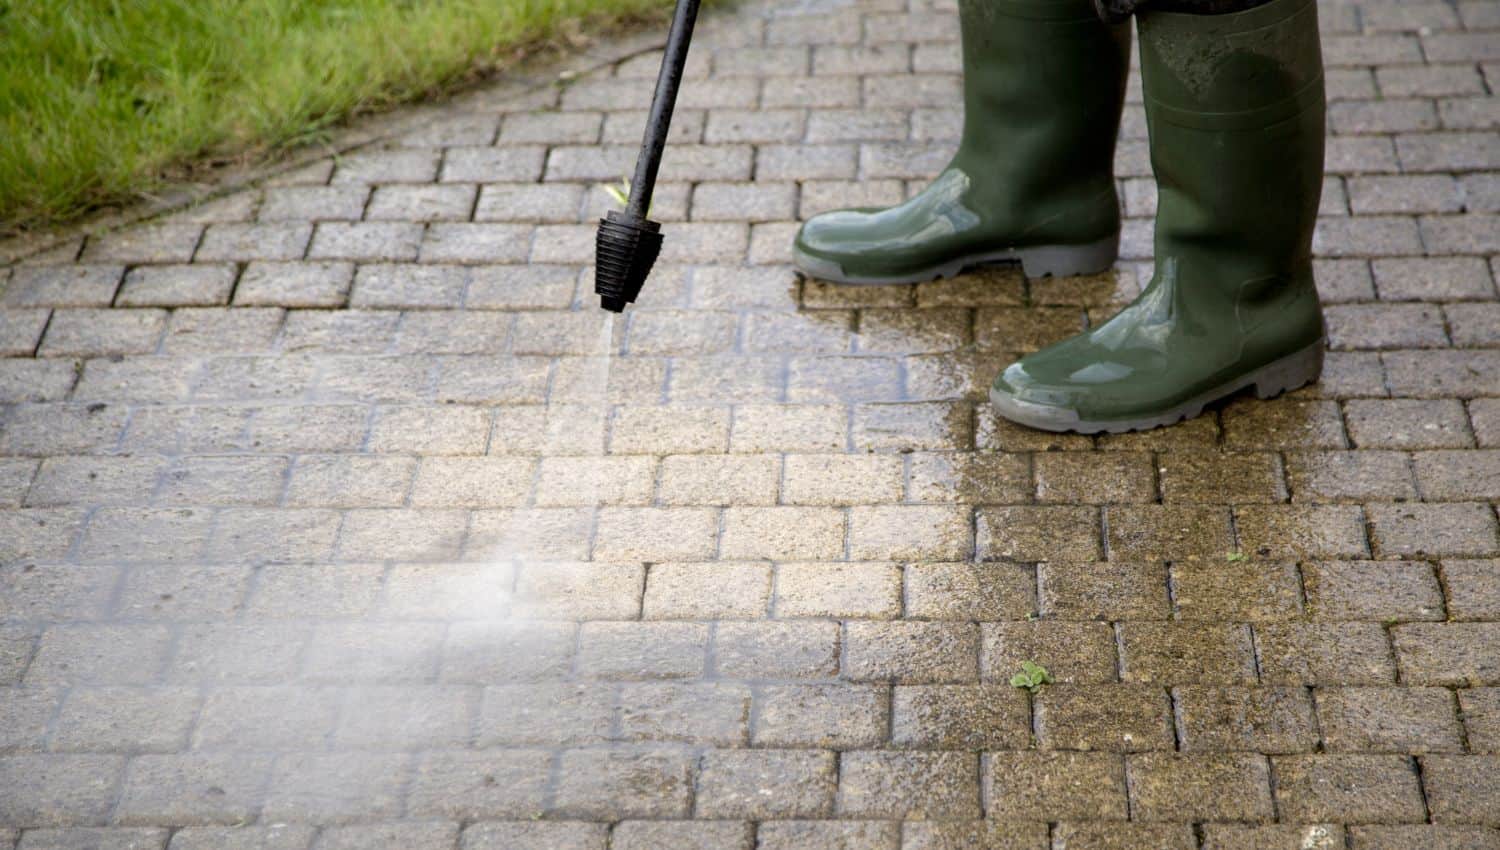
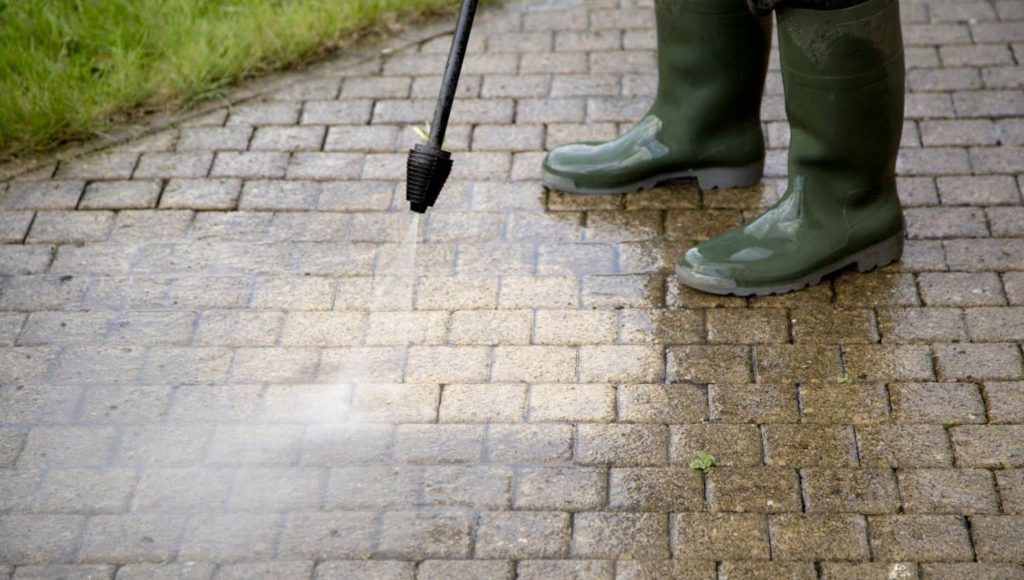
- Step 5: Begin Pressure Washing: Once your pressure washer is set up, you can begin pressure washing. Start by spraying the surface from a distance of at least 8-10 feet to prevent any concentrated build up of pressure which could cause damage. Work in sections and use slow, sweeping motions when applying the cleaning solution. This will help ensure that all areas are evenly cleaned without risking any damage to the brick.
- Step 6: Rinse Away Cleaning Solution: After you’ve finished pressure washing each section, it’s important to thoroughly rinse away all traces of the cleaning solution before moving on to the next area. This will prevent staining and discoloration caused by the cleaning solution.
- Step 7: Allow Brick to Dry: Once you’ve finished pressure washing your brick, it’s important to allow the surface to dry completely before proceeding further. This will ensure that all areas are free of any moisture which could lead to staining or discoloration.
By following these steps and taking proper precautions, you can safely and effectively clean your brick or other masonry surfaces with a pressure washer. Just remember to use the right equipment, solutions and techniques in order to get the best results without causing any damage to your property.

Cape Fear Pro Wash, LLC
https://www.google.com/maps?cid=3105027869549498974
229-B Transfer Station Rd, Hampstead, NC 28443
(910) 418-1650
https://capefearprowash.com/


