How to Clean Your Roof with a Pressure Washer
Keeping your roof clean is an important part of home maintenance. Over time, dirt and debris can accumulate on the roof, leading to a decrease in its aesthetic appeal as well as its longevity. Fortunately, with the help of a pressure washer, you can easily keep your roof looking great! In this article we’ll discuss how to use a pressure washer to safely and effectively clean your roof. We’ll also provide some tips for cleaning other hard-to-reach areas such as gutters and downspouts.
Cleaning your roof can be a daunting task, but with the right tools and knowledge it doesn’t have to be. If you have access to a pressure washer, then cleaning your roof is much easier than using traditional methods. Pressure washing offers many advantages over other cleaning techniques such as being faster, more cost effective and less labor intensive.

Here’s how to clean your roof with a pressure washer:
- Prepare the area: Before beginning, be sure to remove any furniture, decorations or plants from the area. If there are any fragile structures near the roof such as skylights or windows, make sure to protect them with plastic sheeting. This will help prevent them from being damaged during the cleaning process.
- Set up the pressure washer: Make sure to read and follow all instructions on the pressure washer manual. Also, make sure to choose an appropriate setting for your roof material. Most residential roofs are made of asphalt shingles, so a setting of 1,800–2,100 psi should work well.
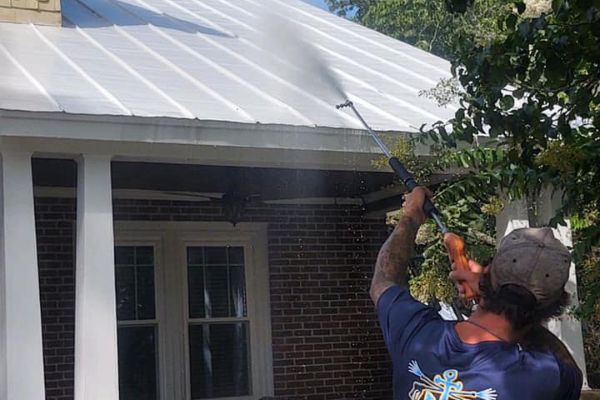
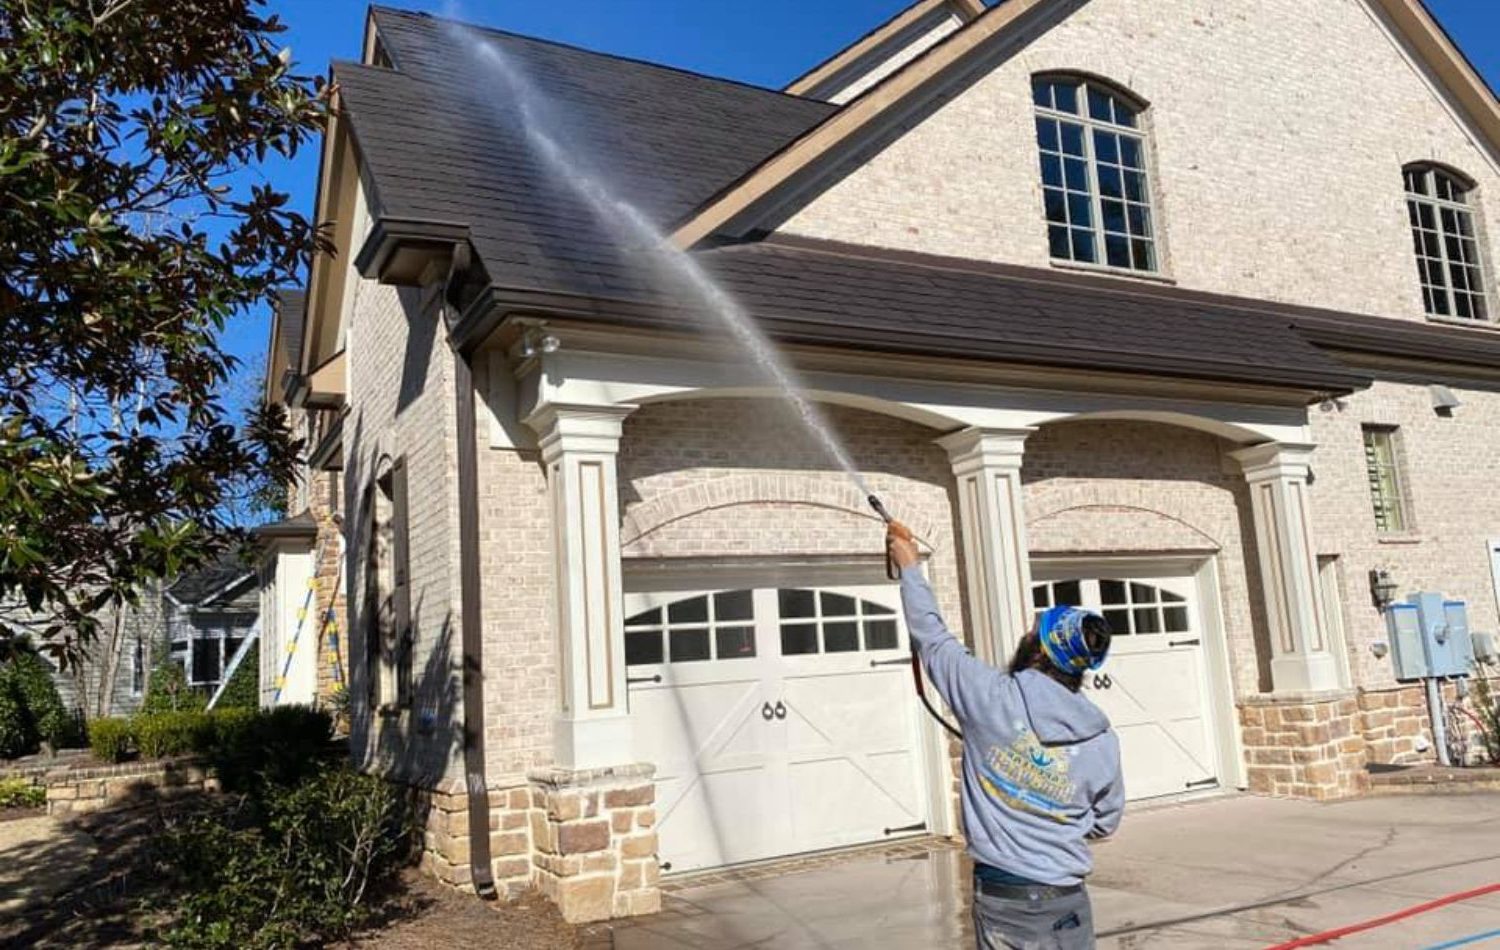
- Start the cleaning process: Begin by spraying the roof from the top down. Move your pressure washer slowly and steadily across the surface of your roof, being careful not to stay in one spot for too long. You can overlap each pass slightly, as this will help ensure that all areas are evenly cleaned.
- Rinse: After you’ve finished spraying each section, rinse the area with clear water. This will help prevent any residue from building up and causing damage to your roof in the future. The rinsing process can be done with either the pressure washer or a garden hose.
- Allow to dry: Once you’ve finished cleaning your roof, be sure to allow it to dry before walking on it. The drying process will depend on the weather, but it can usually take up to 24 hours. This will help prevent any slips or falls and reduce the risk of damage to the roof.
By following these steps, you can easily use a pressure washer to keep your roof looking great! As mentioned previously, you can also use a pressure washer to clean hard-to-reach areas such as gutters and downspouts. Be sure to follow all safety guidelines when using your pressure washer, and if you have any questions or concerns consult a professional. With the proper care and maintenance, your roof will look great for years to come!
Now that you know how to use a pressure washer to clean your roof, why not give it a try? It’s a quick, easy and cost-effective way to keep your roof looking great! Good luck!

Cape Fear Pro Wash, LLC
https://www.google.com/maps?cid=3105027869549498974
229-B Transfer Station Rd, Hampstead, NC 28443
(910) 418-1650
https://capefearprowash.com/


